go
未分类
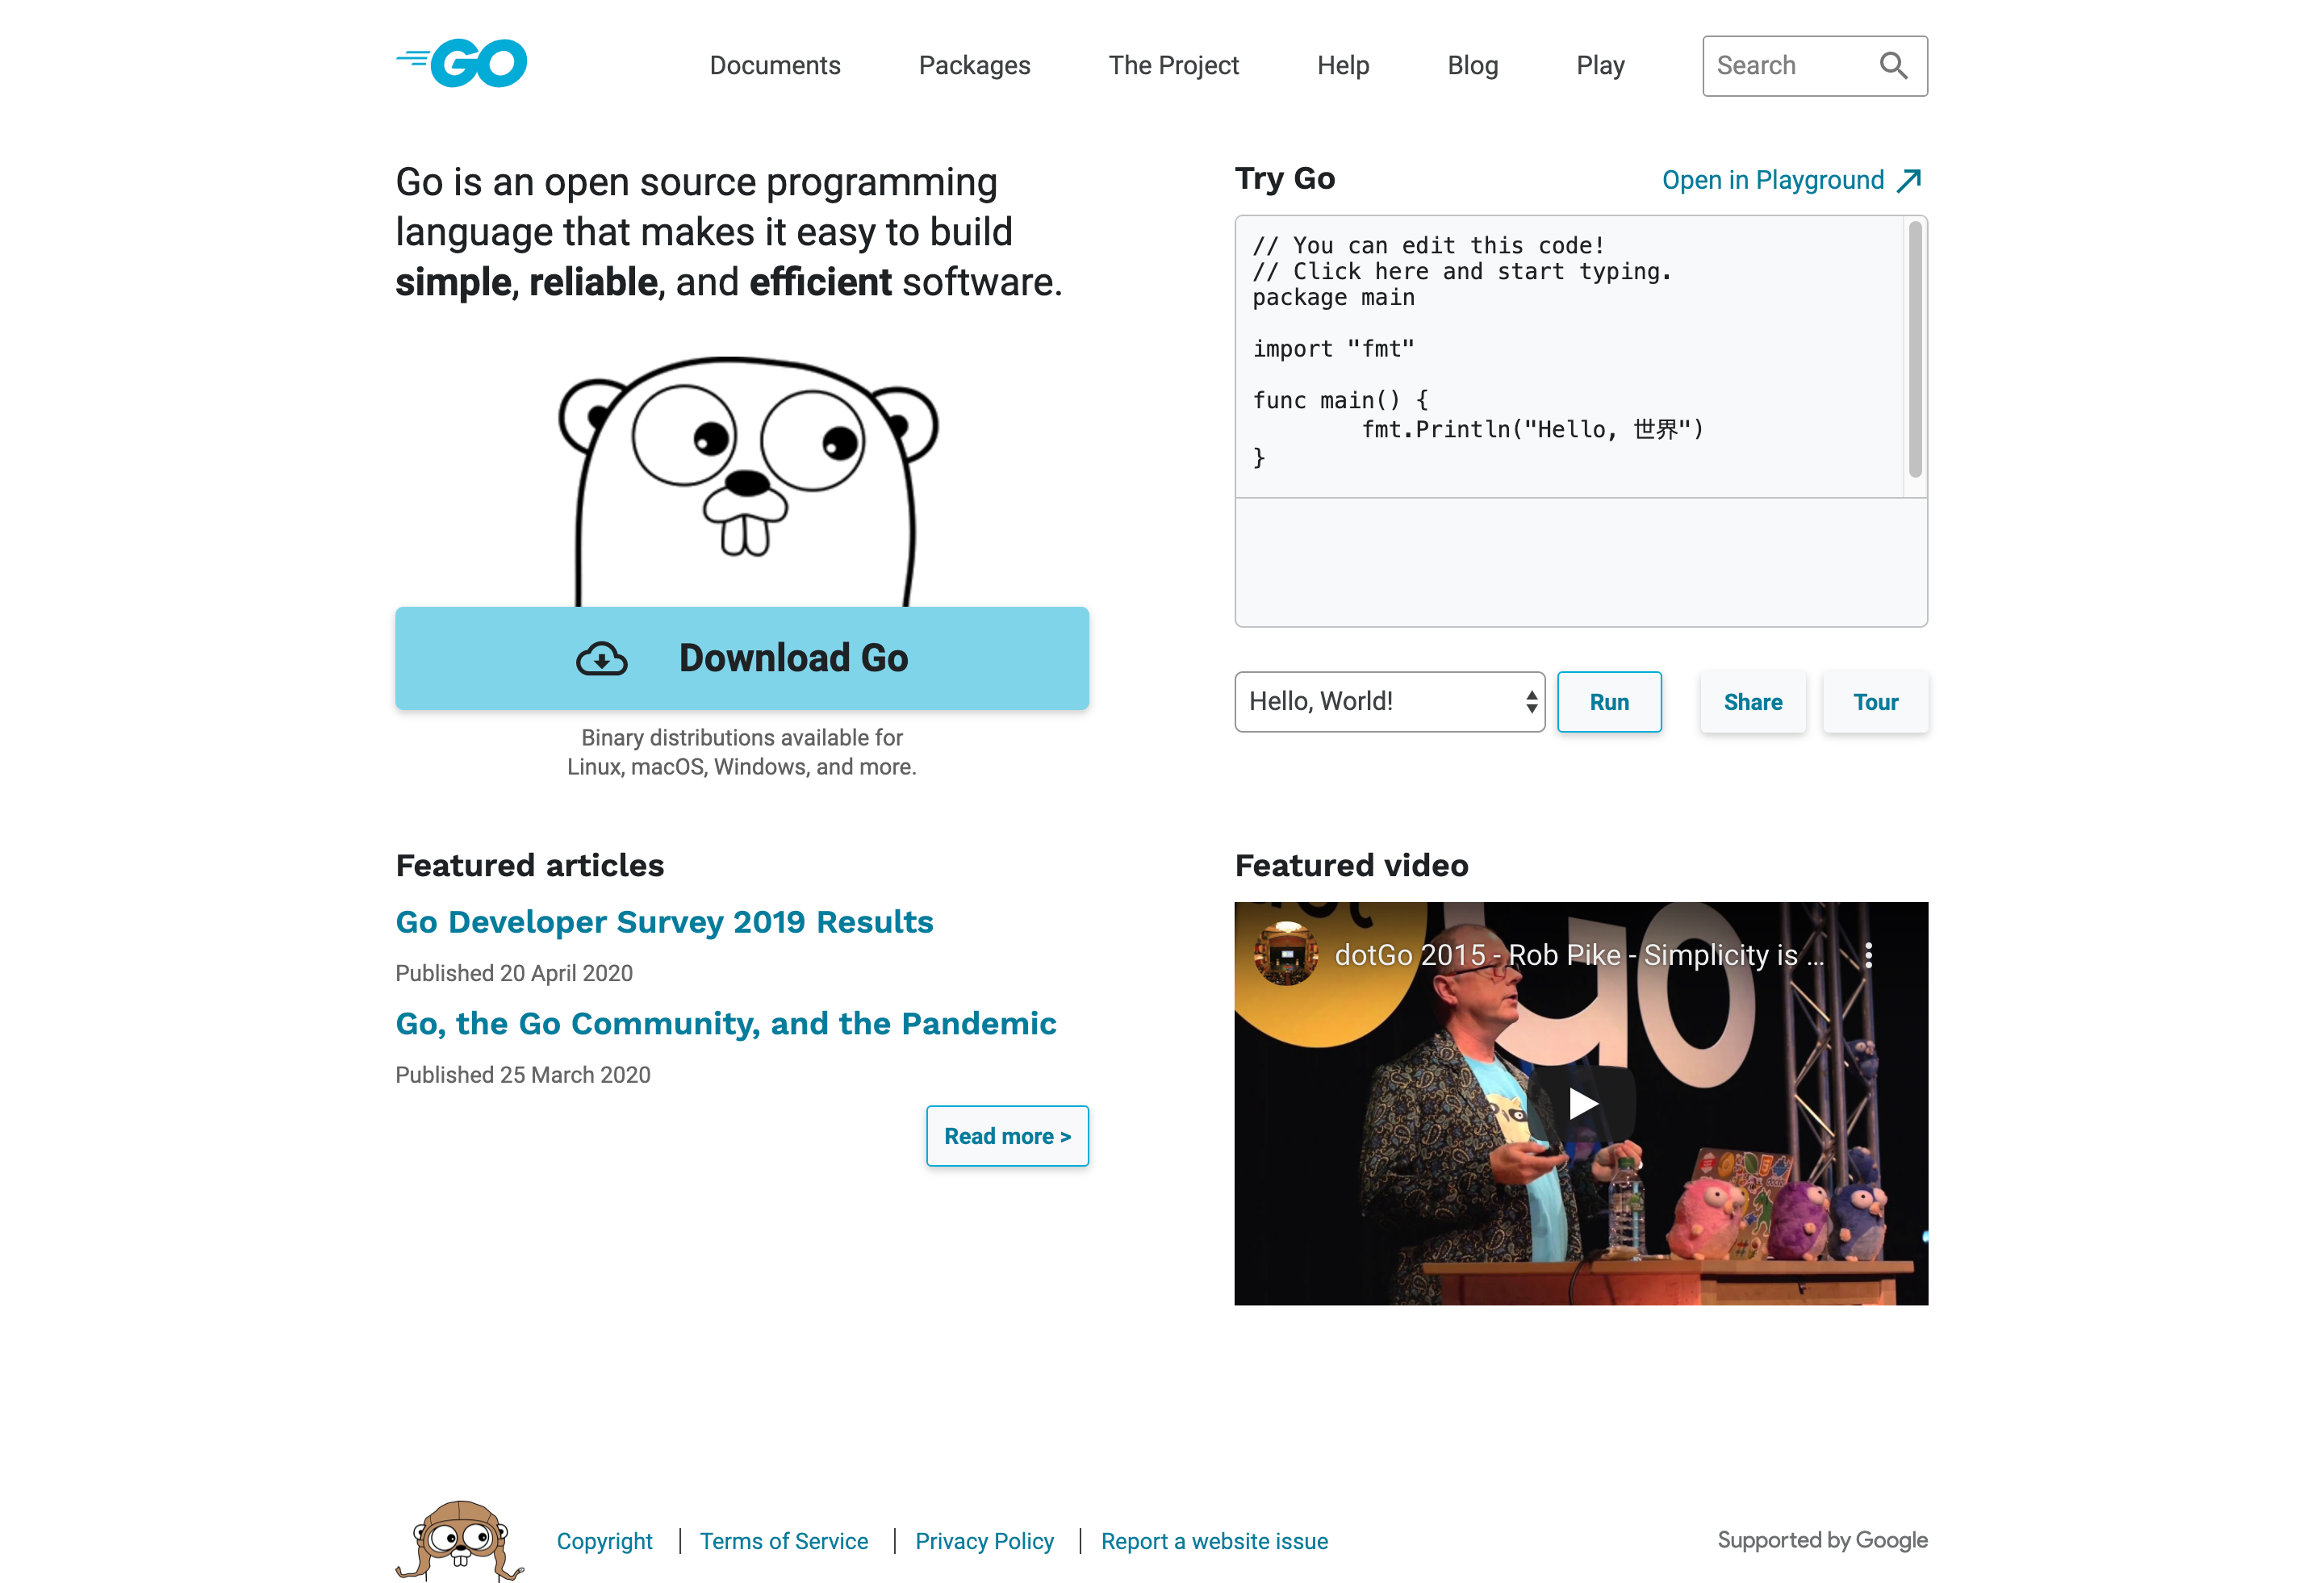
https://golang.org/ 首页截图

Go语言是由google推出的一种的编程语言。版本1.0在2012年3月发布。
############################################# 为啥学Go #############################################
他火,我穷。区块链和容器化时代的到来,把Go语言也带火了起来。除此之外,Go语言也被誉为 “21世纪的C语言”从性能和简洁程度也比较优秀。
Go算是编程语言届的优等生,集 Python的简洁 和 C语言的性能 于一身,让开发在保证性能的前提下更加高效。
Golang是一门编译型、适用于大型项目开发的编程语言。关于Go语言可以简单罗列他的几个特点:
    编译型语言,写完的代码需要编译成为二进制文件再运行(默认静态编译),C语言也是需要先编译再运行(默认动态编译)。
    并发编程,Go的并发方面比较优秀(其他语言其实也能做到,只不过Go在编译器级别而其他则更多的是用户级别了)。
    语法简洁 & 上手快,这点和Python比较相似,写的代码少可以做的事很多。
    除此之外,Go在类型和异常等细节方面,让他在编写大型项目时更加占优势。
Go 运行代码的三种方式
######################################### 准备相关目录结构和代码 #########################################
cd /root
mkdir xgo && cd xgo
mkdir bin pkg src
mkdir -p src/pro1

cat << 'EOF' > src/pro1/hello.go
package main

import "fmt"

func main() {
	fmt.Printf("hello, world\n")
}
EOF

执行下面条命令,临时注入需要的环境变量
export GOPATH=/root/xgo
export GOBIN=/root/xgo/bin

搞定之后目录结构如下
[root@10-255-20-218 src]# tree /root/xgo
/root/xgo
├── bin
├── pkg
└── src
    └── pro1
        └── hello.go
4 directories, 1 file

######################################### 方式1 go run #########################################
go run /root/xgo/src/pro1/hello.go

######################################### 方式2 go build #########################################
cd /root/xgo/src/pro1
# go build -o app
# ls
app  hello.go
# ./app
hello, world

######################################### 方式3 go install #########################################
cd /root/xgo/src
go install pro1

[root@10-255-20-218 src]# tree /root/xgo/
/root/xgo/
├── bin
│   └── pro1   +
├── pkg
└── src
    └── pro1
        └── hello.go
4 directories, 2 files
快速上手
cat << 'EOF' > hello.go
package main

import "fmt"

func main() {
	fmt.Printf("hello, world\n")
}
EOF


package main,每个Go文件顶部都需要定义package 包名称用于表示当前文件所属的包。packge main比较特殊,一旦定义了则被编译后会生成一个可执行文件,而其中的main函数则是程序的入口。
import fmt,表示导入Go标准库中的一个模块,此模块中有 fmt.Pringln函数用于做输出。
func main(){},是一个Go的函数,因文件中定义了package main,所以main函数就是当前程序的入口。

###################################### 输入输出 ######################################
fmt.Print,输出。
fmt.Println,输出并在末尾添加换行符。
fmt.Printf,格式化的输出,第一个参数是含占位符的字符串,后续参数则用于格式化字符串。
    // %s,占位符用于格式化字符串
    // %d,占位符用于格式化整型
    // %f,十进制小数
    // %.2f,保留小数点后两位(四舍五入)
    fmt.Printf("%s %d \n", "兰博基尼", 2)
    fmt.Printf("您的账户余额为:%f,仅保留小数点后两位的话为:%.2f", 1999.213, 1999.216)
    更多占位符和文档说明可在Go源码 Go编译器安装目录/src/fmt/doc.go 中查看

###################################### 注释 ######################################
单行注释, //
多行注释, /* */
变量
###################################### 变量定义 ######################################
方式1
var name string = "hello"
var age int = 18

方式2
var name = "hello"
var age = 18
// 在给变量赋值时已知值的类型,所以Go编译器自动可以自动检测到类型,故可简化编写。

方式3
name := "hello"
age := 18

若果是先声明再赋值,必须使用方式1
// 声明变量
var name string
// 给变量赋值
name = "hello"

注意:如果变量只声明不赋值,Go内部其实会给变量默认设置值:int 为 0,float 为 0.0,bool 为 false,string 为空字符串,指针为 nil

###################################### 变量名规则 ######################################
变量名由字母、数字、下划线组成,且首个字符不能为数字
不能使用Go内置的25个关键字
    break、default、func、interface、select、case、defer、go、map、struct、chan、else、goto、package、switch、const、fallthrough、if、range、type、continue、for、import、return、var

###################################### 全局变量 ######################################
package main
import "fmt"
// 声明全局变量
var country string = "中国"
// 或可使用 var country = "中国"
// 不可使用 country := "中国"
func main() {
    fmt.Println(country)
    country = "China"
    fmt.Println(country)
}


特别提醒:Go中的全局变量比较特殊,如果全局变量名首字母小写,则只能被当前包中的go文件使用,外部无法使用;如果首字母大写,则任意文件都使用全局变量。可简单理解为:首字母大写表写公有,首字母小写表示私有(当前包的go文件所有)。

###################################### 局部变量 #######################################
Go中的变量有作用域之分,每个大括号就是一个作用域,每个作用域中都可定义相关的局部变量。

package main
import (
   "fmt"
)
func main() {
   // 声明局部变量,在当前函数可用
   var name string = "hello"
   fmt.Println(name)
   if true {
      //  生命局部变量,在当前if中可用
      var age = 18
      fmt.Println(age)
   }
   // 报错,age在if括号的作用域中
   // fmt.Println(age)
}

###################################### 因式分解 #######################################
package main
import "fmt"
/*
var name = "hello"
var age = 18
var gender  string
*/
// 在全局使用
var (
    name   = "hello"
    age    = 18
    gender string
)
func main() {
    fmt.Println(name)
    fmt.Println(age)
    gender = "男"
    fmt.Println(gender)
    // 在局部使用
    var (
        x1 = 123
        x2 = 456
    )
    fmt.Println(x1)
    fmt.Println(x2)
}


###################################### 常量 #######################################
package main
import "fmt"
func main() {
    // 定义变量
    //var name string = "hello"
    //var name = "hello"
    name := "hello"
    name = "alex"
    fmt.Println(name)
    // 定义常量
    //const age int = 98
    const age = 98
    fmt.Println(age)
}
Go Command
go build
go build -n
go build -o 任意名称
go run main.go
go run -work main.go
go env  显示go环境变量
go install     命令内部不仅可以对代码进行编译并还会将编译好的文件放在 $GOPATH/src 和 $GOPATH/pkg目录。
go help get
使用包实现代码重用
########################## 1 使用内置包 ##########################
cat /root/xgo/src/pro1/hello.go
package main

import (
    "fmt"
    "math"
)

func main() {
    fmt.Println(math.Pi)
}

########################## 2 使用第3方包 ##########################

########################## 2.1 下载第3方包 ##########################
go get github.com/golang/example/stringutil

########################## 2.2 书写代码 ##########################
cat /root/xgo/src/pro1/hello.go
package main

import (
    "fmt"
    "github.com/golang/example/stringutil"
)

func main() {
    s := "hello"
    fmt.Println(stringutil.Reverse(s))
}

########################## 2.3 参考的目录结构 ##########################
[root@10-255-20-218 pro1]# echo $GOPATH
/root/xgo
[root@10-255-20-218 pro1]# tree  -dL 5 /root/xgo/
/root/xgo/
├── bin
├── pkg
│   └── linux_amd64
│       └── github.com
│           └── golang
│               └── example
└── src
    ├── github.com
    │   └── golang
    │       └── example
    │           ├── appengine-hello
    │           ├── gotypes
    │           ├── hello
    │           ├── outyet
    │           ├── stringutil
    │           └── template
    └── pro1

17 directories
[root@10-255-20-218 pro1]# echo $GOPATH/
/root/xgo/

########################## 2.3 总结 ##################################
go get 命令默认自带,可以自动下载安装第3方包,自动处理下载相关依赖,下载的路径取决于环境变量 $GOPATH
Go包管理方式的演进
https://baijiahao.baidu.com/s?id=1662408333895183488&wfr=spider&for=pc

go1.5  go get
go1.11 引入 Moudle 模块
go 操作MySQL
安装依赖 go get -v github.com/Go-SQL-Driver/MySQL
cat /root/xgo/src/pro1/xmysql.go

package main
import (
    "database/sql"
    "fmt"
    _ "github.com/Go-SQL-Driver/MySQL"
)

func main() {
   // DSN:Data Source Name
    dsn := "root:123456@tcp(127.0.0.1:3306)/xtest"
    db, err := sql.Open("mysql", dsn)
    if err != nil {
        panic(err)
    }
    defer db.Close()  // 注意
}
参考资料
https://pythonav.com/wiki/detail/4/0/

http://c.biancheng.net/golang/

想系统学习GO语言(Golang),能推荐几本靠谱的书吗?
https://www.zhihu.com/question/30461290

https://github.com/golang/go/wiki

Go语言入门经典 [英]乔治·奥尔波 2018-08
https://weread.qq.com/web/reader/12132c407193f24a121a46bkc81322c012c81e728d9d180

拜拜了,GOPATH君!新版本Golang的包管理入门教程
https://zhuanlan.zhihu.com/p/60703832

Go包管理方式的演进
https://baijiahao.baidu.com/s?id=1662408333895183488&wfr=spider&for=pc

参考一个Go写的云盘项目
https://github.com/cloudreve/Cloudreve

主流框架对比  https://blog.csdn.net/u012925833/article/details/102499591

https://tour.go-zh.org/basics/9
Go语言 “ _ ”(下划线)
https://studygolang.com/articles/18294
1.下划线在import中
   在Golang里,import的作用是导入其他package。
   import 下划线(如:import _ hello/imp)的作用:当导入一个包时,该包下的文件里所有init()函数都会被执行,然而,有些时候我们并不需要把整个包都导入进来,仅仅是是希望它执行init()函数而已。这个时候就可以使用 import _ 引用该包。即使用【import _ 包路径】只是引用该包,仅仅是为了调用init()函数,所以无法通过包名来调用包中的其他函数。